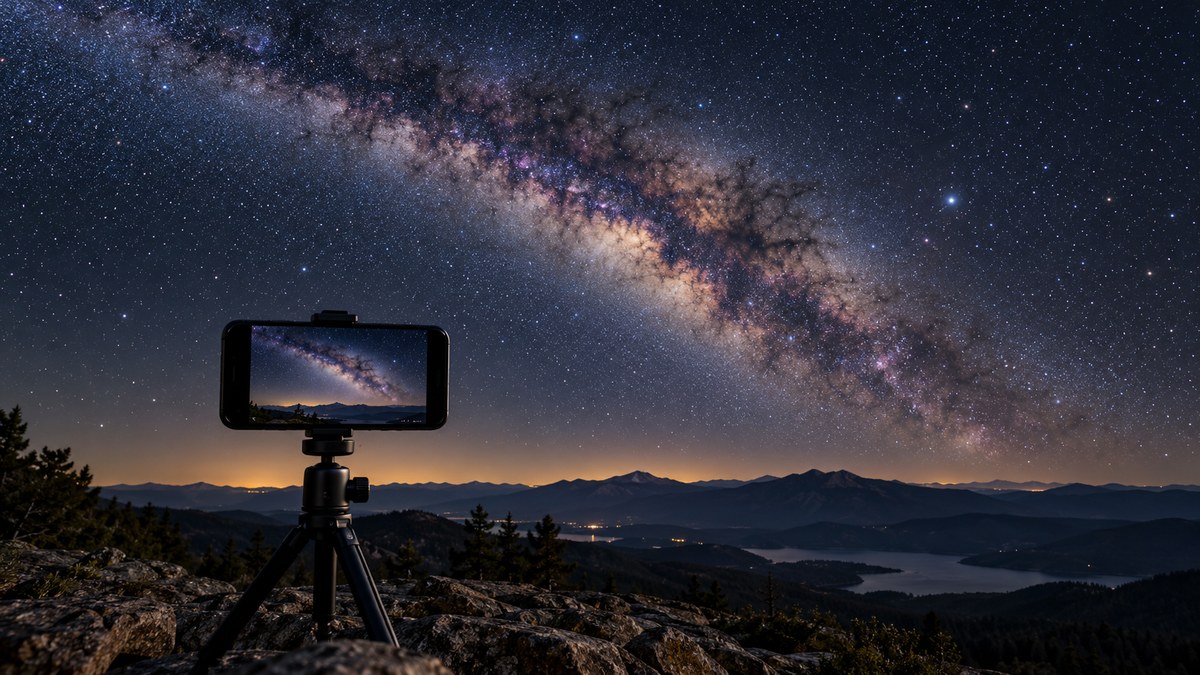
The night sky has never been more accessible. You do not need a thousand dollar camera or a telescope to capture the Milky Way. Your 2025 or 2026 model smartphone is already capable of pulling in enough light to reveal the dense star clouds of our galaxy. The trick is knowing where to be, which mode to use, and how to hold the phone steady. This guide walks you through every step so you can get a photo worth sharing.
To photograph the Milky Way with a smartphone in 2026, you need a dark sky, a tripod, and the right manual settings. Use your phone’s dedicated night or astrophotography mode. Set ISO between 800 and 3200, shutter speed between 15 and 30 seconds, and tap to focus on a bright star. Edit the raw file afterward to bring out the galactic core.
What Your Smartphone Needs to Capture the Milky Way
Modern phones have larger sensors and better low light processing than models from just three years ago. The iPhone 16 Pro, Google Pixel 10, and Samsung Galaxy S26 Ultra all include dedicated astrophotography modes. Even last year’s flagship models can do the job if you use a manual camera app.
Here is what you actually need:
- A smartphone with manual exposure controls or a night mode
- A sturdy tripod (a flimsy one will ruin your shot)
- A dark sky location away from city lights
- A clear night with low humidity
Do not worry about buying a lens attachment or a star tracker. Those help, but they are optional. The phone you already own is enough.
Step 1: Find the Right Time and Place
The Milky Way core is only visible during certain months. In the northern hemisphere, the best window runs from March through September. The core rises in the southeast before dawn in early spring and is high overhead by summer.
You need a new moon or a crescent moon that sets early. Moonlight washes out the faint dust lanes. Check a moon phase calendar before you head out.
Light pollution is your biggest enemy. Drive at least 30 minutes outside of any major city. Use a light pollution map to find a dark spot. National parks, state forests, and rural farm roads often have excellent skies.
“I drove two hours to a Bortle 3 zone for my first phone Milky Way shot. The difference between that and my backyard was night and day. The phone captured detail I could barely see with my eyes.” — Anonymous night sky photographer
Step 2: Set Up Your Gear
A tripod is non-negotiable. Your hands shake enough to blur a 20 second exposure. Even a cheap travel tripod will work as long as it keeps the phone still.
Attach your phone to the tripod with a universal phone mount. These cost around fifteen dollars and clamp onto any standard tripod head.
Turn off autofocus. Set your phone to airplane mode so notifications do not light up the screen. Disable any sleep timer that might lock the phone mid exposure.
Step 3: Choose the Right Camera Mode
Different phone brands have different strengths. Use the table below to match your device to the best setting.
| Phone Model | Recommended Mode | Notes |
|---|---|---|
| iPhone 15 Pro / 16 Pro | Night Mode or ProRAW | Night Mode stacks multiple exposures automatically. ProRAW gives you more editing flexibility. |
| Google Pixel 8 / 9 / 10 | Astrophotography Mode | This mode captures a burst of 15 second exposures and aligns them for you. |
| Samsung Galaxy S24 / S25 / S26 Ultra | Expert RAW Astrophoto | Lets you set ISO, shutter speed, and white balance manually. Save as RAW for best results. |
| Any phone without a dedicated mode | Manual mode in a third party app | Apps like Lightroom Mobile or Manual Camera give you full control. |
If your phone has a dedicated astrophotography mode, use it. These modes are tuned to reduce noise and stack frames. If you want more control, switch to a manual app and shoot in RAW.
Step 4: Dial In Your Settings
Manual settings are the same across most phones. Start with these:
- Set your ISO to 1600. If the image looks too dark, go up to 3200. If it looks noisy, drop to 800.
- Set your shutter speed to 20 seconds. This is the sweet spot for most phones. Going longer than 25 seconds will make stars trail.
- Set your white balance to daylight or around 4500K. You can adjust this later in editing.
- Set your focus to manual. Tap on the brightest star in the frame. If the phone refuses to lock focus, use a manual slider and zoom in to check sharpness.
Do not use digital zoom. Do not use any filters. Keep the lens clean.
Step 5: Focus in the Dark
Autofocus fails in low light. You have to do this manually.
Turn on the phone’s focus peaking feature if it has one. Otherwise, use the tap to focus method. Point the phone at Venus, Jupiter, or Sirius if they are visible. If no bright star is available, use a distant light on the horizon and then recompose.
Check your focus by zooming into the preview. Stars should look like pinpoints, not blobs. If they look soft, adjust the focus slider slightly and test again.
Step 6: Compose Your Shot
A photo of the Milky Way alone can look flat. Include something in the foreground to give it scale. A tree, a barn, a rock formation, or a person standing still works well.
Use the rule of thirds. Place the galactic core on one of the grid lines. Leave enough sky above the horizon to show the arch of the Milky Way.
Take a test shot at high ISO just to check composition. Adjust the tripod head until the frame looks balanced. Then lower the ISO and take the real shot.
Step 7: Edit Your Photo on Your Phone
Editing is where the Milky Way comes to life. The raw file will look dark and gray. You need to push the contrast and bring out the purple, blue, and pink tones.
Use an app like Adobe Lightroom Mobile, Snapseed, or the built in editor on your phone.
- Increase exposure by one or two stops
- Raise contrast to 30 or 40
- Lower the blacks to deepen the sky
- Raise the whites to brighten the stars
- Increase clarity and texture to reveal dust lanes
- Boost saturation slightly, especially in the blue and magenta channels
- Reduce noise in the shadows if the image looks grainy
Do not overdo it. A natural looking Milky Way is more impressive than a neon mess.
Common Mistakes and How to Fix Them
Even experienced photographers make errors on their first try. Here are the most common problems and their solutions.
| Problem | Cause | Fix |
|---|---|---|
| Stars are blurry or trailing | Shutter speed too long or tripod moved | Keep shutter at 20 seconds or less. Lock the tripod legs. |
| Image is too dark | ISO too low or exposure too short | Raise ISO to 3200 or increase shutter to 25 seconds. |
| Image is too noisy | ISO too high | Drop ISO to 800 and increase exposure time. Use noise reduction in editing. |
| Milky Way is faint | Light pollution or wrong season | Drive to a darker location. Shoot between March and September. |
| Phone won’t focus | Autofocus fails in dark | Switch to manual focus and tap on a bright star. |
Step 8: Take Multiple Shots and Stack Them
One photo is good. Five or ten photos stacked together are great.
Stacking reduces noise and reveals fainter detail. You do not need a computer. Use an app like Sequator or Starry Sky Stacker on your phone. Both apps align the stars automatically.
Take at least five consecutive shots with the same settings. Do not move the tripod between shots. Import them into the stacking app and let it do the work. The result will look cleaner than any single exposure.
A Realistic Comparison: Phone vs. DSLR
Your phone will not match a full frame DSLR with a fast lens. But the gap has shrunk dramatically. A 2026 smartphone with astrophotography mode can produce an image that looks great on social media, prints well at 8×10, and impresses your friends.
A DSLR will capture more detail, handle higher ISOs, and produce less noise. But a DSLR setup costs at least a thousand dollars and requires a separate lens. Your phone is already in your pocket. For a beginner, the phone is the better tool because you will actually use it.
If you want to learn the fundamentals of the night sky before you shoot, read our guide on understanding the night sky: a beginner’s guide to astronomy fundamentals. It will help you predict when the Milky Way will be in the best position.
Your First Night Out: A Simple Checklist
Print this list or save it to your notes app before you head out.
- Check moon phase (new moon is best)
- Check weather forecast (clear skies only)
- Find a dark location on a light pollution map
- Charge your phone fully
- Pack your tripod and phone mount
- Bring a red flashlight to preserve night vision
- Wear warm clothes (you will be outside for a while)
- Download a manual camera app if your phone needs one
- Set a timer so you do not lose track of time
Why the Effort Is Worth It
The first time you see the Milky Way in a photo you took with your own phone, something clicks. You realize the galaxy is not just a picture in a textbook. It is above you every clear night. You just needed the right tools and a little patience.
Do not wait for perfect conditions. Go out on the next new moon weekend. Set up your tripod. Follow the steps here. You will be surprised by what your phone can do.
For more tips on spotting the Milky Way with your naked eye, check our guide on how to spot the milky way in your backyard this season. And if you want to plan your entire evening, our ultimate 2026 checklist for your first night under the stars covers everything from packing to parking.
Now go capture some starlight. Your phone is ready.