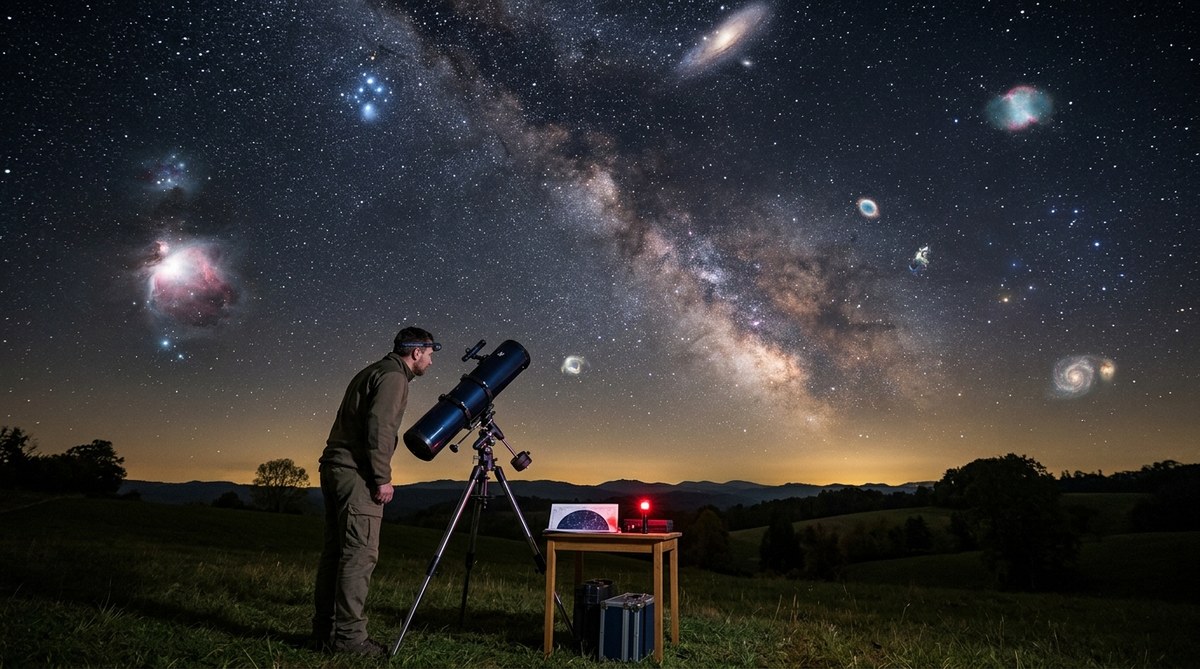
You just got your first telescope. You set it up in the backyard, pointed it at the sky, and maybe you saw the Moon. That is fantastic. But now you want more. You want to see something truly far away, something that makes you feel small in the best possible way. You want to see deep sky objects. The good news is that you do not need a massive, expensive observatory to find them. With a simple backyard telescope and a little bit of know-how, you can see galaxies, star clusters, and nebulae that are millions of light years away. This guide will show you exactly which targets to aim for and how to find them.
You can see dozens of deep sky objects with a modest backyard telescope. Focus on bright Messier objects like the Orion Nebula, Andromeda Galaxy, and the Pleiades. Use a low power eyepiece first, learn to read a star chart, and always observe from a dark location. Patience is your best tool. Start with the seven targets in this guide to build your confidence.
Why Your Backyard Telescope Is Ready for Deep Sky
Many beginners think they need a giant telescope to see anything beyond the solar system. That is not true. A 4-inch or 6-inch reflector, or even a decent 80mm refractor, is enough to see hundreds of deep sky objects. The key is knowing where to look and what to expect.
Deep sky objects are faint. They will not look like the colorful photos from the Hubble Space Telescope. Instead, you will see soft gray smudges, faint patches of light, and subtle shapes. That is normal. The thrill comes from knowing that the light hitting your eye left its source before the United States was a country. That is real. That is worth the effort.
Before you head outside, make sure you have read our guide on understanding the night sky. It will help you get oriented. You should also check our tips on how to plan your first stargazing session in 2026 to avoid common frustrations.
The Seven Best Deep Sky Objects for Your Backyard Telescope
Here are seven targets that are bright enough to find with a simple setup. They are listed in order of difficulty, starting with the easiest.
1. The Orion Nebula (M42)
The Orion Nebula is the crown jewel of the winter sky. It is located in the sword of Orion, just below the three belt stars. Even a small telescope at low power will show a fuzzy patch of light. With a 4-inch scope, you can see the four bright stars of the Trapezium cluster embedded inside the nebula.
Best time to view: December through March, around 9 PM local time.
2. The Andromeda Galaxy (M31)
This is the closest major galaxy to our own Milky Way. On a clear, dark night, you can even see it with your naked eye. Through a telescope, it looks like an elongated oval of soft light. The core is brighter than the edges. Do not expect to see spiral arms with a small scope, but the sheer size of this object is stunning. It spans about six full moons across the sky.
Best time to view: August through November.
3. The Pleiades (M45)
This open star cluster is one of the most beautiful sights in the sky. It looks like a tiny dipper to the naked eye. Through binoculars or a low power eyepiece, you will see dozens of blue stars packed together. The Pleiades are young stars, only about 100 million years old. That is young for a star.
Best time to view: October through February.
4. The Hercules Globular Cluster (M13)
Globular clusters are spherical groups of hundreds of thousands of stars. M13 in Hercules is one of the finest examples for a backyard telescope. At low power, it looks like a round fuzzy ball. At higher magnification, you will start to resolve individual stars around the edges. It is a beautiful sight.
Best time to view: April through August.
5. The Ring Nebula (M57)
This planetary nebula is a favorite for small telescopes. It is located in the constellation Lyra, near the bright star Vega. The Ring Nebula looks like a tiny smoke ring. You will need a medium to high power eyepiece to see the donut shape clearly. It is the remains of a dying star that blew off its outer layers.
Best time to view: June through October.
6. The Whirlpool Galaxy (M51)
This is a classic face-on spiral galaxy. Through a 6-inch telescope, you can see its two bright cores and a hint of the spiral arms. It is fainter than Andromeda, so you need a dark sky. But when you find it, you are looking at a galaxy that is merging with a smaller companion.
Best time to view: March through June.
7. The Dumbbell Nebula (M27)
This planetary nebula in the constellation Vulpecula is large and bright. It looks like a dumbbell shape, hence the name. A 4-inch telescope will show it clearly as a double-lobed cloud of gas. It is easy to find because it is near the bright star Altair.
Best time to view: July through October.
How to Find Deep Sky Objects: A Step-by-Step Process
Finding these objects takes practice. Here is a simple process that works every time.
-
Start with a star chart or app. Use a printed chart or an app on your phone. Set your phone to red screen mode to preserve your night vision. Our guide on how to use your smartphone for night sky astronomy can help.
-
Align your finderscope. During daylight, point your main telescope at a distant object like a telephone pole. Adjust the finderscope until the crosshairs are centered on the same object. This step saves you hours of frustration.
-
Use the lowest power eyepiece first. Your lowest power eyepiece gives you the widest field of view. This makes it easier to locate faint objects. Once you find the target, you can switch to a higher power for more detail.
-
Star hop from a bright star. Find a bright star near your target. Center it in your finderscope. Then slowly move the telescope in the direction of your target using the star chart as a guide. Move in small steps.
-
Use averted vision. Look slightly to the side of the object. The edge of your retina is more sensitive to faint light. This trick makes dim objects pop into view.
-
Be patient. Let your eyes adapt to the darkness for at least 20 minutes. Do not look at your phone screen or any white light. Patience is the secret weapon of every good observer.
Common Mistakes and How to Fix Them
Here is a table of mistakes that beginners make and how to solve them.
| Mistake | Why It Happens | How to Fix It |
|---|---|---|
| Can’t find the object | Star chart is confusing or too dim | Use a red flashlight and a paper chart. Practice star hopping on bright objects first. |
| Object looks like a blur | Eyepiece is too powerful | Switch to your lowest power eyepiece (25mm or 32mm). |
| Telescope shakes too much | Tripod is not stable | Tighten all knobs. Add weight to the tripod hook. Observe on a calm night. |
| Sky is too bright | Light pollution or moonlight | Drive to a darker location. Use a light pollution filter. Avoid nights near the full moon. |
| Eyes are tired | Looking too long without a break | Take a 30 second break every few minutes. Close your eyes and relax. |
Techniques That Make a Real Difference
The best piece of advice I ever got was this: do not rush. Spend ten minutes on one object. Look at it from different angles. Let your eye wander. The details will slowly reveal themselves. That is the magic of visual astronomy. — Veteran amateur astronomer, 2026.
Here are a few more techniques that will improve your observing sessions.
- Dress warmly. Even a mild summer night feels cold after an hour of sitting still. Layers are your friend.
- Set up early. Get your telescope outside 30 minutes before you plan to observe. This lets the optics cool down to the outside temperature. Warm optics create blurry images.
- Keep a logbook. Write down what you saw, the date, the time, and the eyepiece you used. This helps you track your progress and remember which objects you liked best.
- Join a club. Local astronomy clubs hold star parties where you can look through other telescopes and get advice. It is one of the best ways to learn.
What to Expect from Your Telescope Setup
Your telescope’s aperture is the most important factor for deep sky observing. Aperture is the diameter of the main mirror or lens. More aperture means more light, which means brighter images.
Here is a simple breakdown of what different apertures can show you.
- 3-inch to 4-inch telescope: You will see the Orion Nebula, Andromeda Galaxy, Pleiades, and bright globular clusters as faint smudges. You can resolve some detail in the Ring Nebula.
- 6-inch telescope: You will see more detail in all of the above. The Whirlpool Galaxy will show its spiral structure. Globular clusters will start to resolve into individual stars.
- 8-inch and larger: You will see hundreds of deep sky objects. Many galaxies and nebulae will show structure. Star clusters will look like fields of diamonds.
If you are still shopping for a telescope, read our guide on choosing the perfect telescope for beginners. It will help you pick the right tool for your goals.
Making the Most of Your Night Sky Sessions
You do not need perfect conditions to enjoy deep sky objects. But a few small adjustments can make a big difference.
- Pick the right night. Check the weather forecast. Look for a night with low humidity and no wind. The moon phase matters too. A new moon gives you the darkest sky.
- Find a dark spot. Even a small backyard in a suburban area can work. But the darker the better. If you can drive 30 minutes away from city lights, you will see twice as many objects.
- Use a red light. White light destroys your night vision instantly. A red flashlight lets you read charts and adjust your telescope without ruining your dark adaptation.
- Bring a friend. Observing alone is great. Observing with a friend is better. You can share the view, talk about what you see, and help each other find objects.
Your Next Steps in Deep Sky Observing
You have the tools. You have the targets. Now it is time to get outside and look up. Start with the Orion Nebula or the Pleiades. They are bright, easy to find, and they will give you the confidence to try harder objects. Keep a log. Practice star hopping. And do not get discouraged if you do not see everything on the first night.
The universe is patient. It will still be there tomorrow night, and the night after that. Every time you look through your telescope, you are seeing light that traveled across the cosmos for millions of years. That is a privilege. Enjoy it.
For more help, check out our guide on 5 common mistakes new astronomers make. It covers the small errors that can ruin a session and how to fix them. Also, read our article on how to read the sky like a map to sharpen your navigation skills.
Clear skies. Happy hunting.