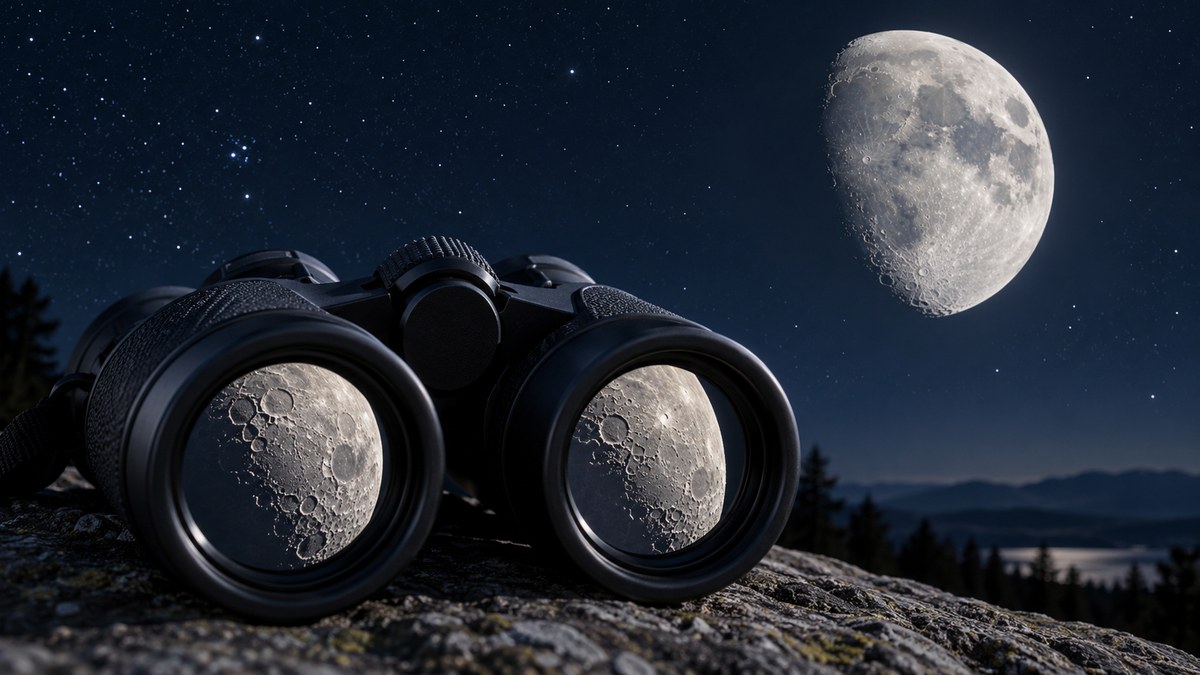
You are standing in your backyard, looking up at the full moon. It is so bright and clear. You can see the dark and light patches with your naked eye. But those craters you have heard about? Those details that look like they belong in a science textbook? They seem just out of reach. You might be thinking that you need a fancy, expensive telescope to see them. That is not true. A simple pair of binoculars can open up a whole new world of lunar detail. The answer to the question is a definite yes. You can absolutely see moon craters with binoculars. It is one of the most rewarding things you can do without spending a lot of money.
You do not need a telescope to see moon craters. A standard pair of 10×50 binoculars will reveal dozens of impact craters, mountain ranges, and vast lunar plains called maria. The best time to look is along the terminator line where shadows make details pop. Focus on a steady hand or a tripod, and you will be amazed at what you find.
Why Binoculars Are Perfect for the Moon
Binoculars offer a wide field of view. This makes it easier to scan the entire face of the moon. A telescope can feel like looking through a straw. You see a tiny piece of the surface at a time. With binoculars, you get the big picture. You can see how craters relate to each other. You can trace the outlines of the dark maria. You can follow the bright rays that spread out from younger craters.
Binoculars are also much easier to use. They are lighter. They are cheaper. You can grab them and be outside in seconds. There is no setup time. There is no complicated alignment. For a beginner, that is a huge advantage. You are more likely to use them often.
What You Will Actually See
Let us talk specifics. A standard pair of 10×50 binoculars will show you craters as small as about 5 to 6 miles across. That is roughly the size of Manhattan. You will not see the tiny pits that a large telescope reveals. But you will see plenty.
Here is what you can expect:
- Large impact craters: Copernicus, Tycho, and Aristarchus are easy targets. They have distinct shapes and bright walls.
- Mountain ranges: The Apennine Mountains along the edge of Mare Imbrium are visible.
- Rilles and valleys: Some of the longer, wider valleys show up as dark lines.
- The maria: These are the large, dark plains. They are not craters, but they are a key part of the lunar landscape.
- Rays: Bright streaks of material thrown out by impacts. Tycho’s rays are especially dramatic.
The Best Time to Look
The full moon is bright. It is beautiful to the naked eye. But it is actually the worst time for spotting craters with binoculars. When the moon is full, the sun is shining directly down on the surface. There are almost no shadows. Everything looks flat and washed out.
The best time is when the moon is in a crescent or quarter phase. At these times, the sun hits the moon at a low angle. This creates long, dramatic shadows. The terminator line is the boundary between light and dark. That line is where the action is. Craters near the terminator have deep, dark shadows on one side and bright, sunlit walls on the other. The contrast is stunning.
Aim for the first few nights after a new moon. Or the last few nights before a new moon. The moon will be visible in the early evening or early morning. That is a convenient time for most people.
How to Set Yourself Up for Success
You do not need a lot of gear. But a few simple tips will make a big difference.
-
Steady your binoculars: This is the number one mistake beginners make. Handheld binoculars shake. The moon looks like it is bouncing around. Rest your elbows on a table. Lean against a wall. Lie down on a bench and use your knees as a support. Even a small amount of stability helps.
-
Use a tripod: If you have a camera tripod, you can get an adapter for your binoculars. This is a game changer. It turns your binoculars into a small, portable telescope. The image becomes rock solid. You will see details you never noticed before.
-
Focus carefully: Most binoculars have a central focus wheel and a diopter adjustment on one eyepiece. Start with the central wheel. Once you have a sharp image, close one eye and use the diopter to sharpen the view for your other eye. This takes only a minute.
-
Let your eyes adapt: Give your eyes at least 10 minutes to adjust to the darkness. Do not look at your phone. Do not turn on a bright light. Your pupils will open wider, and you will see more.
-
Start with a moon map: Print a simple map of the moon. Label the major craters and maria. Use it to identify what you are seeing. It is like having a guidebook.
Common Mistakes and How to Fix Them
Even experienced observers make mistakes. Here is a table of the most common ones and the simple fixes.
| Mistake | Why It Happens | The Fix |
|---|---|---|
| Image is blurry | Out of focus or dirty lenses | Clean the lenses with a microfiber cloth. Refocus carefully. |
| Moon is too bright | Full moon or high power | Use a moon filter if you have one. Or observe near the terminator. |
| Can’t find small craters | Expecting too much detail | Start with the largest craters. Work your way down. |
| Arms get tired | Holding binoculars up for too long | Use a tripod or a support. Take breaks. |
| Seeing poor detail | Atmospheric turbulence | Wait for a night with steady air. Check the weather forecast for “good seeing.” |
A Step-by-Step Plan for Your First Session
Here is a simple plan to follow tonight. It will help you get started without feeling lost.
-
Check the moon phase: Use a calendar or an app. Look for a crescent or quarter moon. Avoid the full moon for your first time.
-
Find a dark spot: You do not need total darkness. But get away from direct street lights. A backyard or a park bench works well.
-
Set up your binoculars: If you have a tripod, mount them. If not, find something to lean on.
-
Sweep the moon: Start at the top edge. Slowly move your binoculars across the surface. Pause when you see something interesting.
-
Follow the terminator: This is the line between light and dark. Focus your attention there. Look for the shadows.
-
Identify three craters: Use a moon map or an app. Find Copernicus, Tycho, and Aristarchus. They are all easy to spot.
-
Take notes: Write down what you see. Draw a simple sketch. This helps you remember and improves your skills.
“The moon is the perfect target for binoculars. It is bright, it is big, and it never fails to impress. Do not worry about having the most expensive gear. A steady hand and a curious mind will take you further than any fancy equipment.” This advice comes from decades of experience shared by the amateur astronomy community.
What to Do When You Cannot See Anything
Sometimes you will look and see nothing but a bright blur. Do not panic. It happens to everyone.
First, check your focus. Turn the central wheel slowly. If the image is still blurry, clean the lenses. A fingerprint can ruin the view.
Second, check your eyes. If you wear glasses, keep them on. Adjust the eyepieces so they work with your glasses. If you do not wear glasses, make sure the eyecups are rolled down or up correctly.
Third, check the sky. If the moon is low on the horizon, you are looking through more atmosphere. That makes the image shaky and blurry. Wait for the moon to climb higher.
Fourth, check your expectations. You will not see the Apollo landing sites. You will not see individual boulders. But you will see craters. If you are not seeing any, you might be looking at the wrong part of the moon. Move your binoculars slowly across the entire disk.
Choosing the Right Binoculars
If you do not own binoculars yet, you might be wondering what to buy. The most recommended size for general astronomy is 10×50. The “10” means 10 times magnification. The “50” means the front lenses are 50 millimeters wide. This is a good balance of power and light gathering.
A smaller pair like 7×35 or 8×42 will also work. They are lighter and easier to hold steady. You will see fewer details, but you will still see craters.
Avoid very high magnification binoculars like 20×80. They are heavy. They require a heavy tripod. They are harder to use. Start with something simple.
If you want to learn more about getting started, check out our guide on how to start your night sky observation journey. It covers everything from choosing a spot to planning your first session.
How Your View Changes with the Moon’s Phase
The moon does not look the same every night. The terminator moves. Different craters become visible at different times.
- New moon to first quarter: The western side of the moon is lit. This is a great time to see the Sea of Tranquility and the craters near it.
- First quarter to full moon: The eastern side becomes visible. Copernicus and Tycho start to show their rays.
- Full moon: The worst time for craters. But it is a good time to see the bright ray systems.
- Last quarter to new moon: The eastern side is in shadow. You get another chance to see the western side.
Keep a log of what you see each night. Over a month, you will see almost every major feature on the near side of the moon.
What If You Live in a City?
Light pollution is a big problem for seeing stars. But the moon is so bright that light pollution does not matter much. You can see craters from the middle of a city. You can see them from a brightly lit parking lot. The moon is that bright.
The only thing that can stop you is clouds. Even thin haze can blur the view. Wait for a clear, dry night.
If you want to learn more about dealing with city lights, read our article on is light pollution ruining your view? Here’s how to adapt. It has practical tips for urban stargazers.
Using Your Smartphone
You do not need a special camera. You can hold your smartphone up to one eyepiece and take a picture. It is tricky. But it is possible.
Use a simple adapter if you want better results. They are cheap and easy to find. You will be surprised at the photos you can get.
For more tips on using your phone, check out how to use your smartphone for night sky astronomy. It covers apps and techniques.
A Final Look at the Numbers
Let us be clear about what is realistic. With 10x binoculars, you can see craters like Copernicus (58 miles across) and Tycho (53 miles across). You can see the huge basin of Clavius (140 miles across). You can see the bright crater Aristarchus (25 miles across). These are not tiny dots. They are obvious features.
You will not see the small craters that are only a mile or two wide. That requires a telescope. But you will see dozens of craters. You will see mountains. You will see the texture of the lunar surface.
Your Next Steps
You have the information. You know what to look for. You know when to look. Now it is time to go outside.
Grab your binoculars. Find a comfortable spot. Look at the moon. Give it a few minutes. Let your eyes settle. Let the details emerge.
The moon is not just a flat disk in the sky. It is a world of mountains, valleys, and craters. And you can see it all without spending a fortune. That is the beauty of this hobby.
If you want to learn more about the night sky, our guide on understanding the night sky: a beginner’s guide to astronomy fundamentals is a great next step. It will help you build on what you have learned tonight.
Keep Looking Up
The best way to get better at seeing moon craters with binoculars is to practice. Go out every clear night. Look at the moon. Notice how the shadows change. Notice how the craters appear and disappear as the terminator moves.
You will get faster at focusing. You will get better at holding steady. You will start to recognize craters by their shape. It becomes a game. It becomes a habit.
And one night, you will show a friend. They will look through your binoculars and say, “Wow, I did not know you could see that.” And you will smile. Because you knew. And now they know too.
So go on. Step outside. Point your binoculars at the moon. See for yourself what is up there. It is waiting for you.