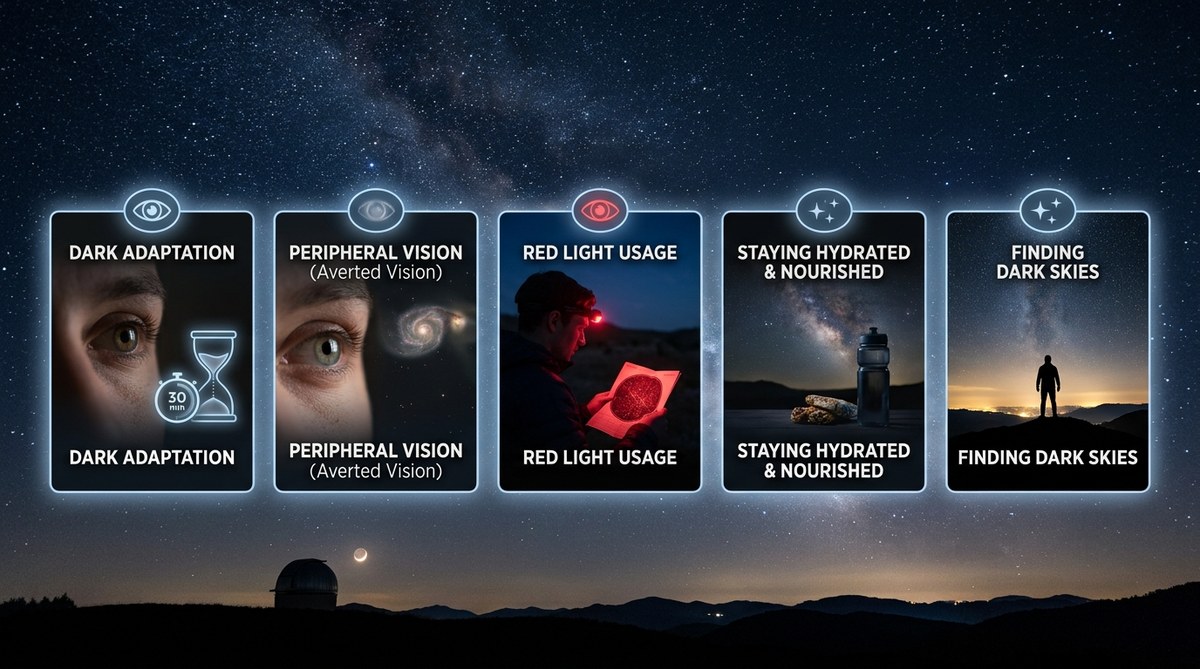
Most people assume that seeing more stars requires a bigger telescope or darker skies. That is only half the story. The other half lives inside your own eyes. Your vision adapts to darkness in ways that most beginners never fully use. With a few intentional habits, you can train your eyes to detect faint galaxies, subtle nebulae, and dim stars that you previously missed entirely. This is not about expensive gear. It is about rewiring how you use the equipment you already own: your eyes.
Your eyes can learn to see better at night. The five techniques here focus on dark adaptation, averted vision, peripheral sensitivity, light discipline, and rest cycles. Each method costs nothing and works immediately. Practice them consistently, and you will notice fainter stars, more detail in the Milky Way, and a deeper connection to the night sky.
Why Your Eyes Need Training for Stargazing
Human eyes did not evolve for astronomy. They evolved for daytime survival. Your retina contains two types of photoreceptors: cones (for color and bright light) and rods (for low light and motion). Rods are roughly one hundred times more sensitive to light than cones, but they take thirty to forty minutes to fully activate. Most beginners step outside, look up, and expect instant night vision. That does not work.
When you walk from a lit house into a dark backyard, your pupils dilate within seconds. That is the fast part. The slow part happens inside your retina. Chemical changes called photopigment regeneration must occur before your rods reach peak sensitivity. Interrupt that process with a phone screen or a passing car headlight, and you reset the clock.
Training your eyes for stargazing means learning to protect and maximize this biological process. It also means teaching your brain to interpret what your rods are seeing. The following five methods will help you do exactly that.
1. Give Yourself a Full Thirty Minutes of Dark Adaptation
This is the single most effective step you can take. Nothing else matters if you skip this.
The process is simple. Find your observing spot. Turn off every light within sight. Sit or stand comfortably in complete darkness. Do not look at your phone. Do not check your watch. Do not glance at a passing car. Just wait.
During the first ten minutes, your pupils dilate fully. During the next twenty minutes, your rod cells rebuild their supply of rhodopsin, the light-sensitive pigment that allows dim vision. After thirty minutes, your eyes reach approximately 90 percent of their maximum sensitivity. After forty minutes, you are at peak.
Here is a step-by-step process to make dark adaptation easier:
- Arrive at your observing site at least forty-five minutes before you plan to seriously observe.
- Set up your chair, star chart, and any equipment while using a dim red flashlight. Red light preserves rod sensitivity better than white light.
- Turn off the red light. Sit quietly. Let your eyes adjust.
- If you must check a star chart, use a red light source at the lowest possible brightness. Cover the lens with your hand and peek between your fingers.
- Avoid any white light source for the entire session. A single flash from a phone screen costs you fifteen to twenty minutes of adaptation.
Many beginners give up after five minutes because they feel impatient. That is normal. Push through it. The reward comes when you look up after half an hour and see stars that were invisible before.
2. Use Averted Vision to See Faint Objects
Your retina has a blind spot where the optic nerve connects, and your sharpest daytime vision comes from a small central area called the fovea. The fovea is packed with cones and contains almost no rods. That means your best night vision is not in the center of your gaze. It is slightly off to the side.
Averted vision is the technique of looking just to the side of a faint object so that its light falls on your rod-rich peripheral retina. It feels unnatural at first. Your instinct is to stare directly at something you want to see. But direct stares make faint objects vanish.
Try this tonight. Pick a dim star that is barely visible. Stare straight at it. Notice how it disappears after a few seconds. Now look slightly to the left or right of it. The star reappears, brighter than before. That is averted vision in action.
To practice averted vision effectively:
- Look about eight to ten degrees away from your target. That is roughly the width of your fist held at arm’s length.
- Keep your gaze soft. Do not strain.
- Move your eyes slowly across the area. Scan rather than fixate.
- Experiment with different angles. Each person’s retina has slightly different rod distribution.
With practice, averted vision becomes automatic. Experienced amateur astronomers use it without thinking. Beginners who master this one technique often report seeing twice as many stars in the same sky.
3. Scan the Sky with a Structured Pattern
Randomly glancing around the sky is inefficient. Your brain needs time to process what your rods are detecting. A structured scanning pattern helps you cover the entire visible hemisphere without missing anything.
Try this bulleted scanning routine during your next session:
- Start at the zenith, the point directly overhead.
- Move your gaze in slow, horizontal sweeps from east to west.
- Lower your gaze by about ten degrees after each sweep. Use your fist as a measuring guide.
- Pause for three to five seconds at each point where you notice something interesting.
- Repeat until you have scanned from the zenith down to the horizon.
- Switch to vertical sweeps from north to south for a second pass.
This method prevents you from fixating on one bright object and ignoring the rest of the sky. It also trains your peripheral vision to detect subtle differences in brightness. Over time, you will learn to recognize the faint smudge of a galaxy or the soft glow of a nebula even before your central vision confirms it.
For more guidance on what to look for during these scans, check out our guide on what you can see with the naked eye tonight.
4. Control All Light Sources Around You
Light discipline is not just about avoiding phone screens. It is about every photon that reaches your eyes during an observing session.
The table below shows common light sources, their impact on dark adaptation, and how to manage them.
| Light Source | Impact on Adaptation | Management Strategy |
|---|---|---|
| Smartphone screen | Severe. Resets adaptation by 15-20 minutes | Use a red light filter app or leave phone inside |
| Car headlights | Severe. Causes temporary flash blindness | Position yourself with your back to the road |
| Streetlights | Moderate to severe depending on distance | Choose a site with minimal nearby lighting |
| House windows | Moderate. Leaking indoor light affects peripheral vision | Observe from the darkest corner of your yard |
| Red flashlight | Minimal when used correctly | Keep brightness low and point it away from your eyes |
| Moonlight | Moderate to significant during full moon | Plan sessions around new moon or moonless evenings |
| Passing airplane lights | Minor. Brief and unpredictable | Look away until the lights pass |
| Neighbor’s porch light | Variable. Depends on distance and shielding | Talk to neighbors about timing or install a privacy screen |
A few additional tips for light control:
- Cover your watch face or wear a long sleeve.
- If you wear glasses, ask your optometrist about anti-reflective coatings that reduce internal reflections.
- Turn off all indoor lights before stepping outside. Let your eyes begin adapting while you are still inside.
For a deeper look at how light pollution affects what you see, read our article on is light pollution ruining your view and how to adapt.
5. Take Short Breaks to Reset Your Visual System
Your eyes can fatigue during long observing sessions. Visual fatigue reduces contrast sensitivity and makes faint objects harder to detect. The solution is not to push through the fatigue. It is to take strategic breaks.
Close your eyes for thirty to sixty seconds every fifteen to twenty minutes. This gives your rod cells a chance to recover from the constant stimulation. It also prevents your brain from becoming desensitized to subtle contrasts.
During these breaks, keep your eyes completely closed. Do not look at anything. Do not open them to check the time. Just rest. When you open them again, the sky will look noticeably richer.
Another useful rest technique is to look at a completely dark surface, like the ground or a black cloth, for a few seconds between observations. This resets your adaptation level and prepares your eyes for the next target.
“The best telescope accessory is a comfortable chair and the patience to let your eyes do their work. I have watched beginners double their star count in one night simply by learning to close their eyes for thirty seconds between objects.” — Tom Lorenzen, veteran observer and former director of the Astronomical League’s Urban Observing Program
Common Mistakes That Ruin Night Vision
Even experienced observers slip up sometimes. Here are the most common mistakes and how to avoid them.
| Mistake | Why It Hurts | The Fix |
|---|---|---|
| Checking your phone | Phone screens destroy rhodopsin regeneration | Leave the phone in your car or house |
| Using white light | White light contains blue wavelengths that disrupt rods | Use a red flashlight at the lowest setting |
| Staring directly at faint objects | The fovea lacks rods; faint objects disappear | Practice averted vision |
| Not waiting long enough | Full adaptation takes 30-40 minutes | Arrive early and sit in darkness before observing |
| Rubbing your eyes | Pressure on the retina causes temporary distortion | Blink gently or use lubricating eye drops |
| Drinking alcohol before observing | Alcohol reduces rod sensitivity and slows adaptation | Save the celebration for after the session |
| Smoking near the eyepiece | Nicotine constricts blood vessels in the retina | Step away from the observing area to smoke |
| Wearing bright clothing | Light reflects off pale fabrics onto your face | Wear dark, matte clothing |
For a more complete list of pitfalls, see our guide on 5 common mistakes new astronomers make and how to avoid them.
How to Practice Eye Training During the Day
You do not need to wait for nightfall to train your eyes. Daytime practice builds the same skills.
Try this during your lunch break or on a sunny afternoon.
- Find a shaded spot with even lighting.
- Pick a distant object like a tree branch or a building edge.
- Practice averted vision by looking slightly to the side of the object while still perceiving it in your peripheral vision.
- Hold your gaze steady for ten seconds. Blink normally. Repeat.
- Switch to scanning. Move your eyes slowly across a landscape, pausing at each point of interest.
This daytime practice strengthens the neural pathways that control peripheral awareness and gaze control. When you go back to the night sky, those pathways are already primed.
Putting It All Together: Your First Trained Session
Here is a sample session plan that combines all five techniques.
- Choose a night with no moon and clear skies. Check the weather and light pollution forecast.
- Head to your observing spot at least forty-five minutes before you plan to look through a telescope or binoculars.
- Set up your chair and any equipment using a dim red light.
- Turn off the red light. Sit in complete darkness for thirty minutes. Do not look at anything bright.
- After thirty minutes, begin scanning the sky using the structured pattern described in technique three.
- When you spot a faint object, use averted vision to study it. Look to the side, not directly at it.
- Every fifteen to twenty minutes, close your eyes for thirty seconds to reset your visual system.
- If you must check a star chart, use your red light at the dimmest setting. Cover the lens with your hand.
- End the session by noting how many more stars you saw compared to your first night of stargazing.
If you are unsure what to look for during your first session, start with our list of 6 easy constellations to find tonight with just your eyes.
Your Night Vision Is a Skill, Not a Gift
Some people assume that good night vision is something you are born with. That is not true. While genetics play a small role, the vast majority of night vision ability comes from training and habit. The five techniques in this article are used by amateur astronomers around the world. They cost nothing. They require no equipment. They work immediately.
The difference between a beginner who sees a handful of stars and an experienced observer who sees hundreds is not better eyes. It is better use of the eyes they already have.
Start tonight. Find a dark spot. Give yourself thirty minutes. Use averted vision. Scan slowly. Protect your adaptation. Take breaks. Repeat this process every time you observe. Within a few weeks, you will notice real improvement. Within a few months, you will be seeing objects that you never knew were visible to the naked eye.
The sky has always been that rich. You just needed to train your eyes to see it.